Setup a GitLab Server in Your Home

I installed Ubuntu server 20.04 on Mac Book Pro 2009 Mid model (2.26GHz Intel Core 2 Duo, 8 GB RAM, 256 GB HDD). You can find GitLab requirements here.
After finishing the server installation I installed Xfce DE as it is lightweight. I felt it is too primitive. So, I uninstalled it and installed Gnome basic DE.
You can install either one of minimal Gnome or minimal Gnome Desktop.
Installing minimal Gnome on Ubuntu 20.04
$ sudo apt install gnome-session gnome-terminal
$ reboot
Installing minimal Gnome Desktop on Ubuntu 20.04
$ sudo apt install tasksel
$ sudo tasksel install ubuntu-desktop-minimal
$ reboot
Once the system reboots, it will present a login screen. Now, installing a DE for Linux is complete.
You might want to install a browser. Firebox is better for Linux. You can install it by running sudo apt install firefox.
Install GitLab server
You can install GitLab server in two ways - by running a script or by downloading GitLab package.
Method 1: Running a script
Update, just in case! :)
$ sudo apt update
Install GitLab package dependencies
$ sudo apt-get install -y curl openssh-server ca-certificates
Download GitLab instance
$ curl https://packages.gitlab.com/install/repositories/gitlab/gitlab-ce/script.deb.sh | sudo bash
Now install gitlab-ce package
$ sudo apt-get install gitlab-ceMethod 2: Download the package
Change your directory to Downloads to download the package
$ cd ~/Downloads
Get the GitLab package
$ wget --content-disposition https://packages.gitlab.com/gitlab/gitlab-ce/packages/ubuntu/bionic/gitlab-ce_13.2.1-ce.0_amd64.deb/download.deb
Get the GitLab package
$ sudo dpkg -i gitlab-ce_13.2.1-ce.0_amd64.deb
Now is the time to configure GitLab. /etc/gitlab/gitlab.rb is the file where you mention configurations you wanted. Mostly you would not need to modify this file so much.
$ $ sudo vi /etc/gitlab/gitlab.rb
Search for the term external_url. Give http://localhost:80 for external_url value. Save the file, exit Vi editor and reconfigure gitlab service by running the following command.
This command will take some time to finish.
$ sudo gitlab-ctl reconfigure
Once reconfiguration is done, start the service.
$ sudo gitlab-ctl start
Now, you can check the status of the GitLab server
$ sudo gitlab-ctl status
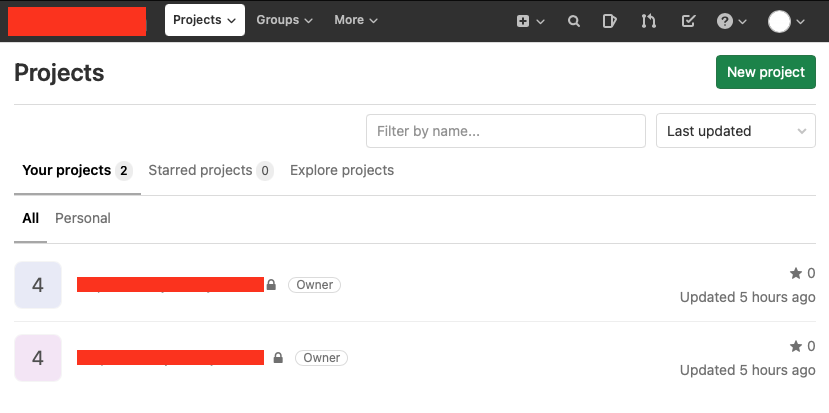
Now, open http://localhost:80 in your browser. You must see something like this. Your username would be root and password would be your system root password.
Also, you can customize GitLab UI by changing
- Banner image to your startup logo
- favicon
- Navigation bar color
- Syntax highlighting theme for source files etc.

Post Installation: Stop Linux from sleeping or getting suspended
As I installed GitLab server on my MBP, I did not want the screen lid to be open all the time. I just want to keep it aside with the lid closed but still the server running. To achive this, you can edit /etc/systemd/logind.conf and edit system behavior such as HandleSuspendKey, HandleLidSwitch etc.
I changed HandleLidSwitch to ignore so that Linux does not suspend even after I close thie lid.
Also, in the Linux Power Options in Settings, I set Automatic Suspend to off for both power and battery run options.
Accessing your GitLab server from other machines
Obtain your Ubuntu Server’s IP Address by running ip -a command. Note the IPV4 address from the output and add :80 at the end, which is the port number provided in /etc/gitlab/gitlab.rb. And, access your GitLab server on browser.
That’s all, folks!